


Integrating NoMachine connections via web with Azure Active Directory Sign-On Password Authentication
The scope of this article is to show users how to integrate NoMachine browser-based connections to a previously configured Azure Host where Active Directory has already been set up. For instructions on how to install NoMachine software and run browser-based sessions, please refer to the appropriate product documentation from the support section here: https://www.nomachine.com/all-documents.
NoMachine web sessions are deployed by a component included in the server installation and named 'Web Player'. The Web Player components is shipped with any of the Enterprise range products.
Prerequisites are:
- Azure ActiveDirectory SSO Services are already properly configured.
- NoMachine web player is installed on an Azure Host connected to Azure Active Directory Domain Services.
- Web player port 4443 (default) for HTTPS connections is open on Azure Domain Host. (HTTP connections on port 4080 are disabled since v8 but it's still possible to enable them, see https://kb.nomachine.com/AR05T01162 ).
Ref. Microsoft Azure
Integrating NoMachine with Azure Active Directory SSO
To integrate NoMachine with Azure Active Directory SSO first login to Azure portal and enter Active Directory options. From there choose ‘Enterprise Applications’ & click.

Fig. 1 - Go to https://portal.azure.com
Creating a new application in Azure
From the Active Directory options panel in Azure, choose ‘Enterprise Applications’ and click ‘New Application’.
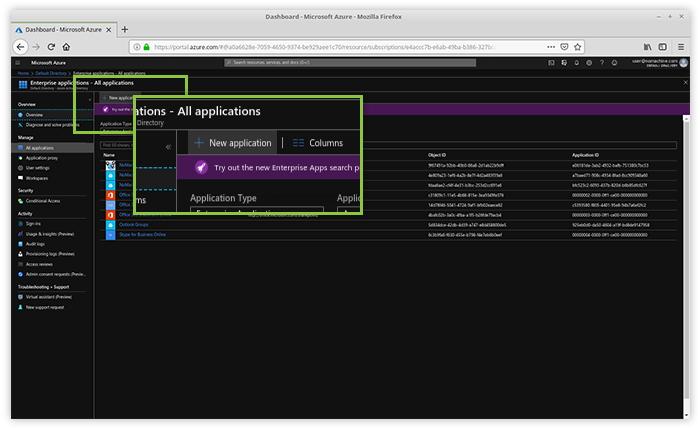
Fig. 2 - Open 'New Application' in Azure
Add the application in Azure
Choose ‘Non-gallery application’ enter the name and click ‘Add an application’.
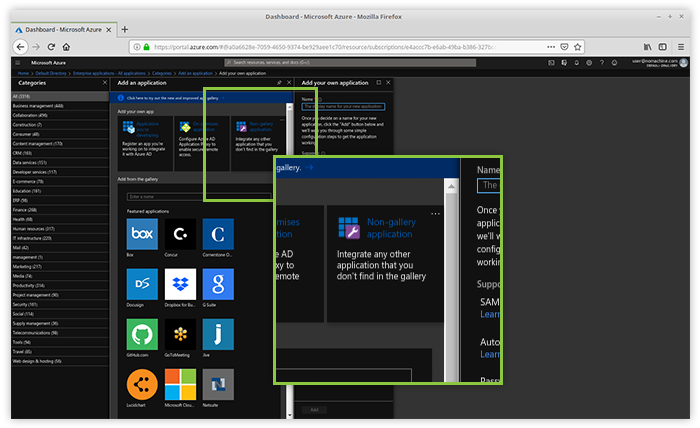
Fig. 3 - Add the application in Azure
Configure the application in Azure
Azure will now move to the application configuration page from where single sign-on and password-based options can be selected.
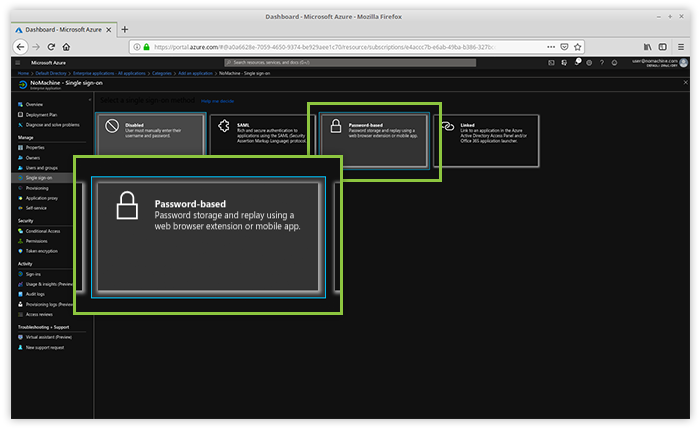
Fig. 4 - Configure single sign-on and password-based authentication
Provide the NoMachine web player URL
Now provide the URL to the Web Player installed on a hosts in Azure Active Directory. By default the port for HTTPS connections is 4443, the format of the URL looks like: https://<IP_TO_HOST>:4443. Up to version 7, was including 'nxwebplayer': https://<IP_TO_HOST>:4443/nxwebplayer
Click ‘Save’ and than ‘Configure NoMachine Password Single Sign-on Settings’.
Select ‘Manually detect sign in-fields’ from the ‘Configure sign-on’ column and click on ‘Capture sign-in fields’.
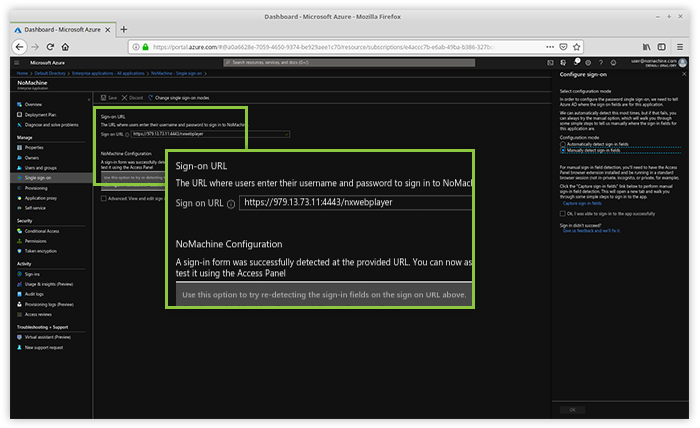
Fig. 5 - Configure Azure for the web player
Log-in to NoMachine
If you didn't do it already, install the Microsoft Azure add-on on your browser. The browser will open two additional tabs. One of the two tabs should be the log-in form of NoMachine: insert your username and password and click ‘ok’ to log-in.
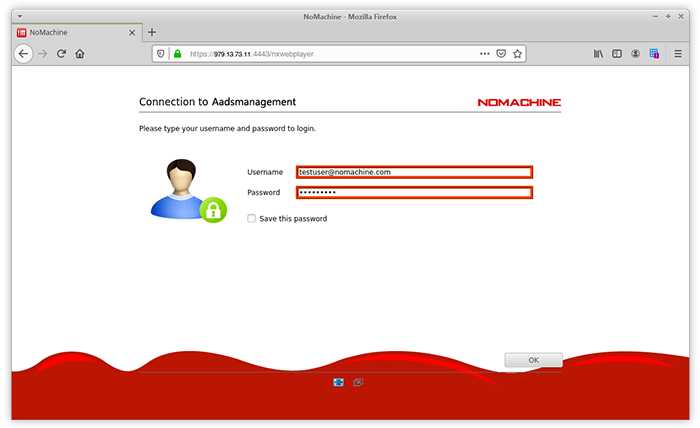
Fig. 6 - Log-in to NoMachine
Save
Lastly, once logged in, click ‘Save’ in the ‘Capture Field’.
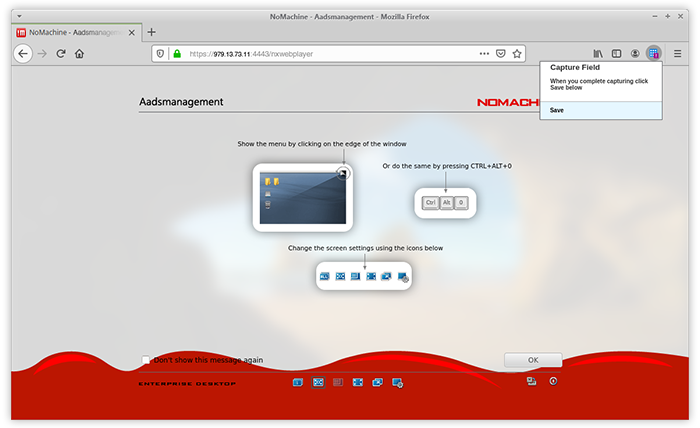
Fig. 7 - Save data in the Azure 'Capture Field'
Complete configuration in Azure
Now go back to the application sign on options page and choose to ‘Edit sign in field labels’ otherwise Microsoft add-on will treat them as 'PARAM1' and 'PARAM2'.

Fig. 8 - Complete Azure's configuration
Assign user rights for application deployment as per Azure guidelines. When complete, login to https://myapps.microsoft.com as a AD user with permissions to NoMachine application. The just configured NoMachine application should be available there.
First time the user will be prompted for username & password by Microsoft Azure add-on. Every time user logs in to Azure Active Directory Apps and chooses to use NoMachine, they will be automatically logged-in to NoMachine web session.
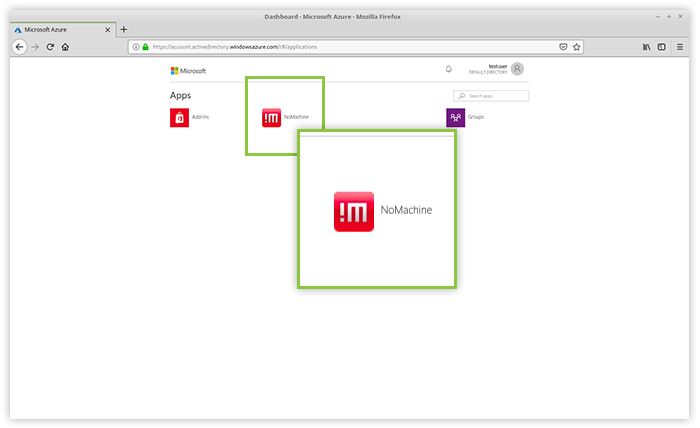
Fig. 10 - Select the NoMachine !M icon from your Azure Active Directory Apps
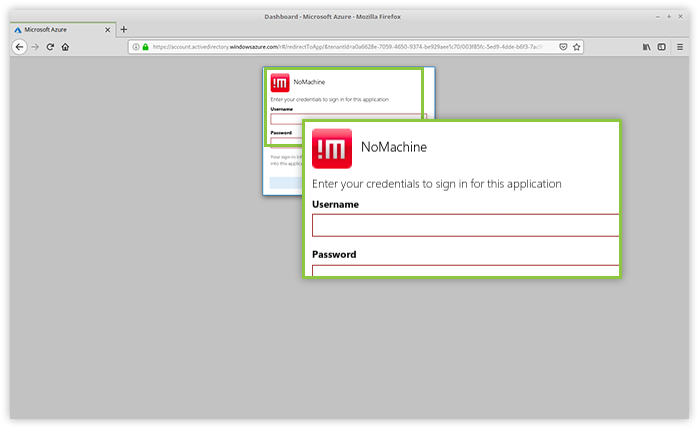
Fig. 11 - Sign in with your user credentials